Sunday, October 27, 2013

Zen of Python by Tim Peters

Python has an Easter Egg :) just try to import this like this
import this
you ll get this
The Zen of Python, by Tim Peters

Beautiful is better than ugly.
Explicit is better than implicit.
Simple is better than complex.
Complex is better than complicated.
Flat is better than nested.
Sparse is better than dense.
Readability counts.
Special cases aren't special enough to break the rules.
Although practicality beats purity.
Errors should never pass silently.
Unless explicitly silenced.
In the face of ambiguity, refuse the temptation to guess.
There should be one-- and preferably only one --obvious way to do it.
Although that way may not be obvious at first unless you're Dutch.
Now is better than never.
Although never is often better than *right* now.
If the implementation is hard to explain, it's a bad idea.
If the implementation is easy to explain, it may be a good idea.
Namespaces are one honking great idea -- let's do more of those!

File Upload with jQuery and Ajax

The requirement is simple. I should be able to upload files to the server with jQuery and ajax. Lets get started.
<html>
   <form>
     File Description:<input type="text" id="desc" />
     Choose File:<input type="file" id="chosenFile" />
     <input type="button" id="submitFile" value="submitTheFile" />
   </form>
</html>
Now, the real jQuery stuff
<script type="text/javascript">
    jQuery.noConflict();
    jQuery(document).ready(function() {
        jQuery("#submitFile").click(function() {
            jQuery.ajax({
                url: "[url to be submitted to]",
                type: "POST",
                contentType: false,
                processData: false,
                data: function() {
                    var data = new FormData();
                    data.append("fileDescription", jQuery("#desc").val());
                    data.append("chosenFile", jQuery("#chosenFile").get(0).files[0]);
                    return data;
                    // Or simply return new FormData(jQuery("form")[0]);
                }(),
                error: function(_, textStatus, errorThrown) {
                    alert("Error");
                    console.log(textStatus, errorThrown);
                },
                success: function(response, textStatus) {
                    alert("Success");
                    console.log(response, textStatus);
                }
            });
        });
    });
<script>
Important things to be noted here are
contentType: false,
                processData: false,

contentType will be determined automatically, so we don't have to set that explicitly and processData has to be false, otherwise the data will be processed and transformed into a query string, fitting to the default content-type "application/x-www-form-urlencoded". Next important thing is

data: function() {
                    var data = new FormData();
                    data.append("fileDescription", jQuery("#desc").val());
                    data.append("chosenFile", jQuery("#chosenFile").get(0).files[0]);
                    return data;
                    // Or simply return new FormData(jQuery("form")[0]);
                }(),
You can read about FormData here. We basically set the values being submitted. The first parameter is the key and the second parameter is the actual value to be passed. We can get the value of any form field with
jQuery("#desc").val()
expect the files. If we use the same for files, we ll get just the file name instead of the file contents. So, we have to do something like
jQuery("#chosenFile").get(0).files[0]
If we dont want to set individual values and want to pass all the fields in the form, we can simply do
data: new FormData(jQuery("form")[0])
Thats it. Enjoy Ajaxified file upload :)
References:

Saturday, September 7, 2013

Installing the thefourtheyeEditor - topcoder plugin

thefourtheyeEditor is a very lightweight plugin for Topcoder Arena to participate in Single Round Matches, which can build testcases and lets the users to store the solutions as local files, so that any editor or IDE can be used to edit them. It also maintains the solutions in the directories named as the SRM's display name.

Features

  1. Very lightweight - Only one jar file. It doesn't depend on any other external jar files.
  2. Organized solutions storage - Solutions will be stored as per the SRM names
  3. File based configuration - Configurations are done in contestapplet.conf file. No need to use UI.

Installation

  1. Download thefourtheyeEditor plugin (thefourtheyeEditor.jar) from https://github.com/thefourtheye/thefourtheyeEditor/releases/download/latest/thefourtheyeEditor.jar
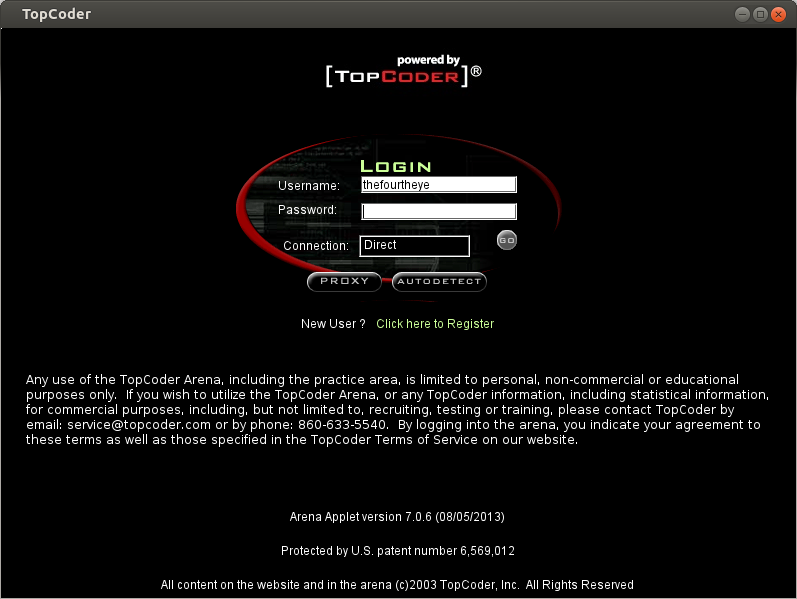
  2. Open topcoder contest applet and login with your username and password

  3. Select Editor from the Options menu. You 'll see something like this

  4. Click on Add and you 'll get a window like this. Fill in the details as you see in this picture. Actually you can give any name in the Namefield and in ClassPath field, you have to locate the thefourtheyeEditor.jar file using Browse button. EntryPoint must be exactly the same as thefourtheyeEditor.Main.

  5. Once these steps are done, the Editor preferences page will look like this

  6. Click on Save button and close that window. That's it. Installation is complete :)

Wednesday, September 4, 2013

Ubuntu bug related to network and power

Last week, I faced this weird problem. When my laptop is not connected to a power source (not on battery), I could not connect to LAN network with my LAN cable, but Wi-Fi worked fine. I struggled a lot for a week and then I found a solution in the internet.

All you have to do is to execute this one liner in your terminal.

echo on > /sys/class/net/eth1/device/power/control
Here eth1 corresponds to my second ethernet interface. It might vary from machine to machine. And if the directories eth, device and power dont exist, you might have to manually create them.

Monday, July 29, 2013

Compiling Node.js scripts in Windows 7 with Sublime Text 3

This is a continuation of Compiling CPP 11 Programs with Sublime Text 3 in Ubuntu where we saw how to configure Sublime Text 3 in Ubuntu 13.04 to compile C++ 11 programs. In this post, we ll see how to execute Node.js programs in Windows 7 machine's Sublime Text 3. I am going to assume that Node.js is installed properly and PATH variable is also set properly. If you are using Windows Installer, we dont have to worry about this.

  1. We need to create the following directory structure in the User's home directory AppData\Roaming\Sublime Text 3\Packages\JS\. In my machine, home directory is C:\Users\[username]. To know the current user's home directory, open Cmd.exe and type echo %userprofile%.
  2. In that directory, create a file called "JS.sublime-build". So, the location of the file from the home directory is AppData\Roaming\Sublime Text 3\Packages\JS\JS.sublime-build You can name the sublime-build file as anything you want. I have simply named it here as JS.
  3. Copy and paste the following text in to it.
    {
     "cmd": ["node.exe", "${file}"],
     "file_regex": "^(..[^:]*):([0-9]+):?([0-9]+)?:? (.*)$",
     "working_dir": "${file_path}",
     "selector": "source.js",
     "variants":
     [
      {
       "name": "Run",
       "cmd":["node.exe", "${file}"]
      }
     ]
    }
    
  4. Thats it. Open Sublime Text 3. Click on Tools->Build System. You should see JS as one of the options. From now on, you can execute node.js scripts simply by pressing Ctrl-B.